How To Create Abstract Oil and Water Photography
Need an idea to help pass the time while in isolation? Start an indoor photo project!
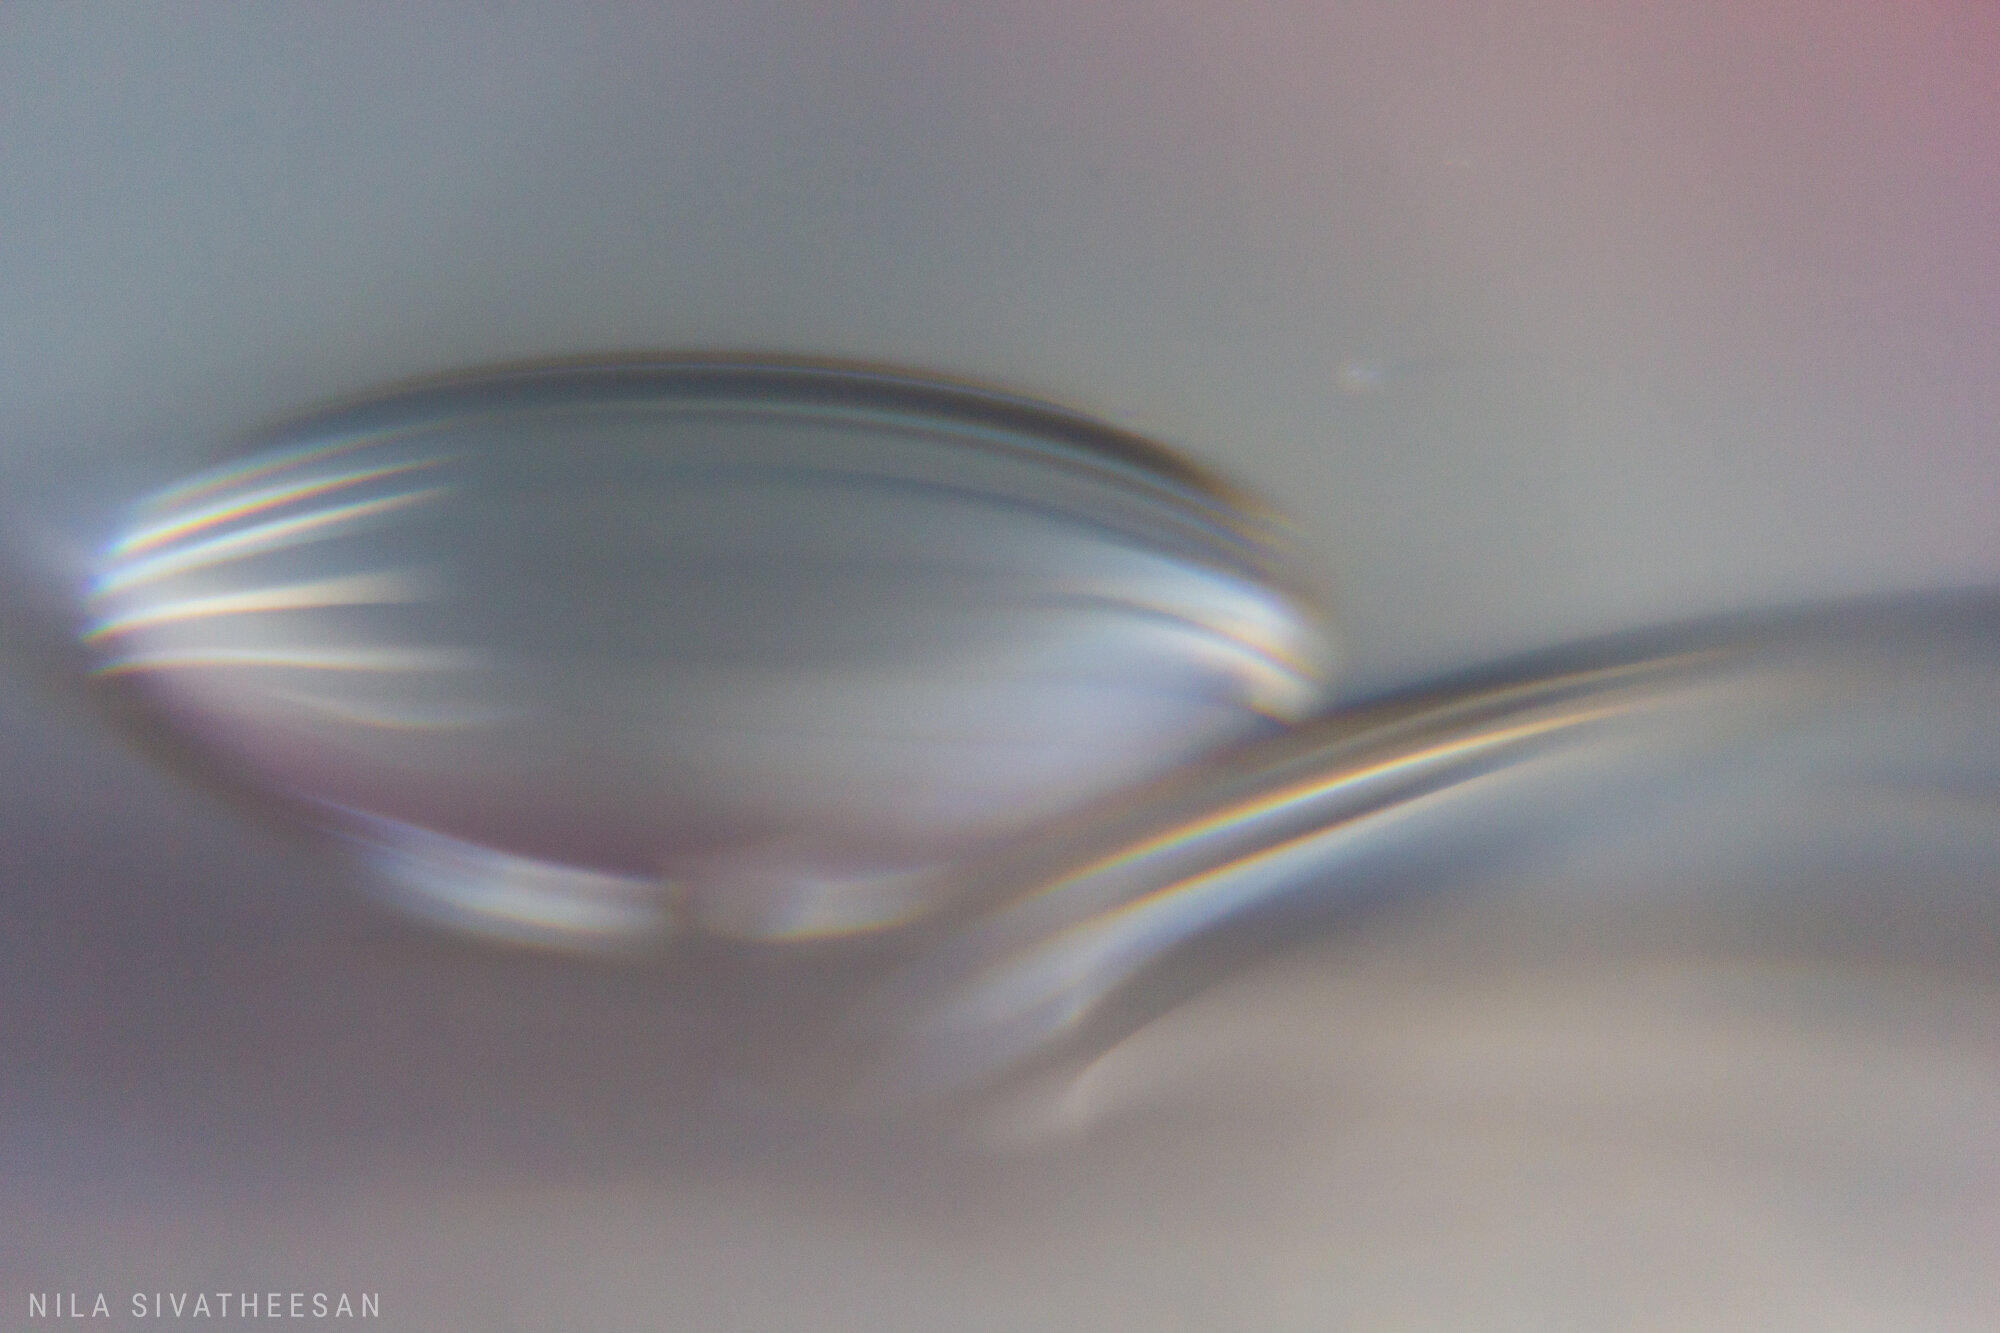
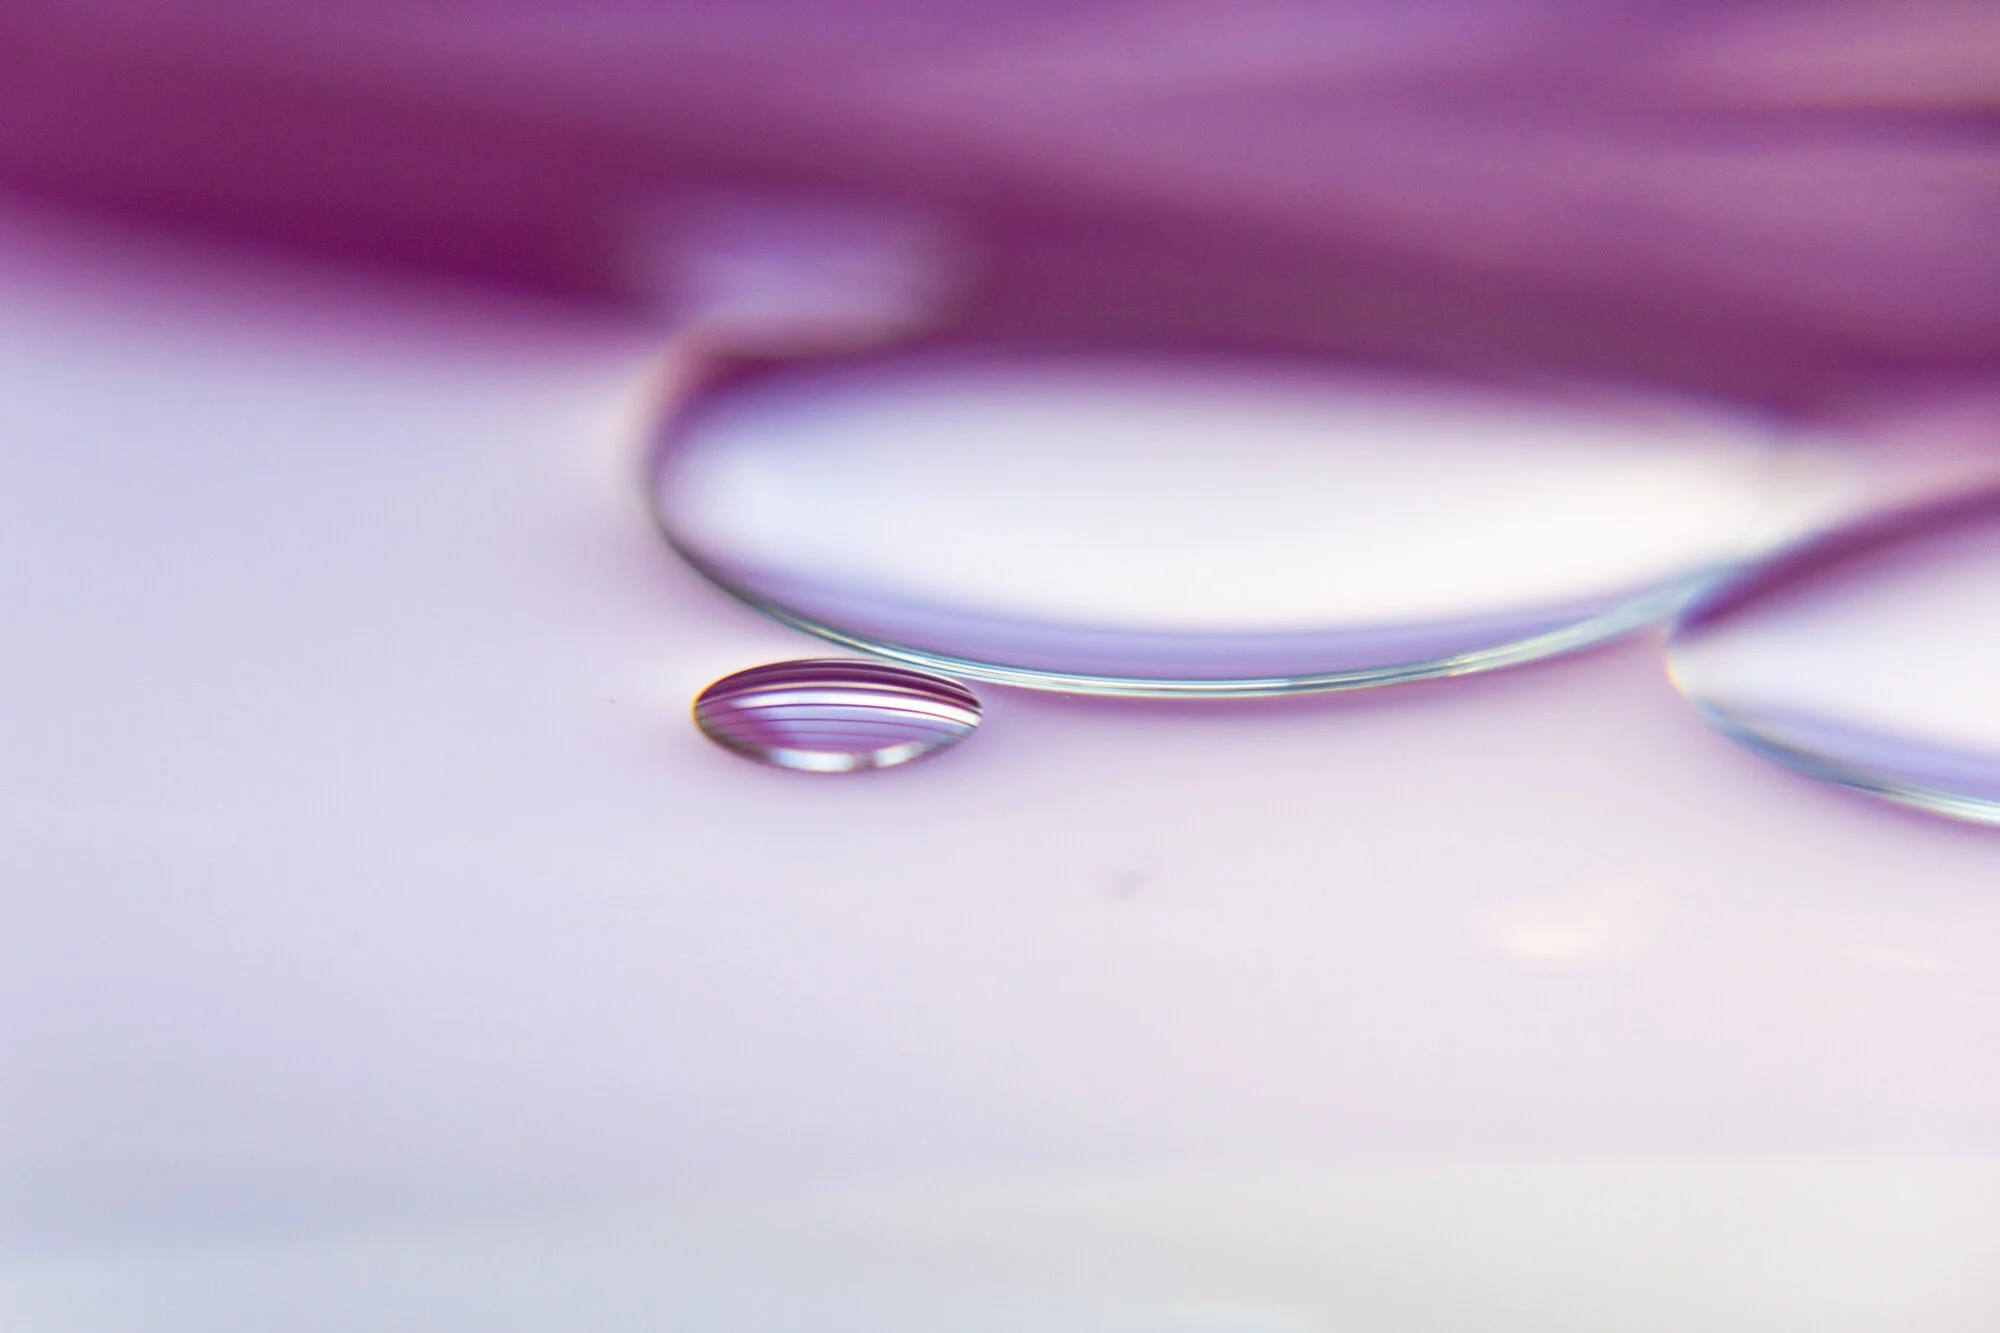
Abstract oil and water photography is a very simple photo project you can do at home with common household items.
There are many techniques and methods you can use to get different variations of colours and bubble patterns. I prefer more minimalistic images, so I made sure there was plenty of negative space around my bubbles. Feel free to experiment with different amounts of oil, dish-washing liquid, and water to get the results you want.

What you need:
Camera with macro lens (Alternatives: macro filters or extension tube)
Colourful backdrop
A glass bowl or dish
A few drops of dish washing liquid
Water
Cooking oil (I used generic vegetable oil, but you could also use olive oil)
Low surface
Light source (window, flash, etc)
Step 1: Setup your workspace
The great thing about oil and water photography is that it is incredible easy to set up!
Find a surface that is low enough for you to be able to hover over. I used a stool, but you could also just place your dish on the floor.
Place your backdrop on the surface. I used pieces of construction paper.
Place your dish on top of the backdrop.
When choosing your spot, also consider your light source. Depending on the effect you want, there are some different options you can try.
Flash
Using an off-camera flash is most recommended, because you are able to have full control over your light source. You can play around with the location your flash will fire from, giving you different effects.
You could also just leave your flash mounted to your camera and adjust the flash head as you go.
House lights, lamps and windows
If you don't have access to flash, try to find a spot in your house that is already well lit. You could set up a few table lamps around your dish, or place your dish near a window with plenty of natural light coming in.
Normally, I would use flash, but I forgot to charge the batteries in my flash. So I did a combination of kitchen lights and windows instead. I placed my dish on a low stool, right next to a window with bright light. I turned on all of the lights in the kitchen as well, to make sure there was plenty of light in the room. The windows I chose also had shutters over them, which created some interesting stripe reflections in some of my images.

Step 2: Fill your bowl
First, add water to your bowl.
I filled my dish almost all the way to the top because I wanted plenty of space between the backdrop and the surface of the water. I didn't want the textures in the construction paper showing up in my images. However, if you prefer more texture and would like to have the surface be more in focus, add less water.
Next, add a few drops of dish washing liquid, gently stir, and let it sit for a couple minutes.
I added only one drop of dish washing liquid.
However, adding more dish washing liquid will help you achieve more vibrant, well-defined bubbles.
Finally, add a few drops of oil.
I used generic vegetable oil and added drops a little at a time as I went, because I wanted to more negative space in my images. But feel free to experiment and add more drops to see what you get!

Step 3: Photograph!
I chose to photograph the bubbles hand held because I prefer moving around more and trying out different angles and perspectives as I go. I also prefer a more softer, slightly out of focus look to abstract images.
However, if you want crisp, clear images that are nice and sharp, make sure you use a tripod!
And there you have it! Oil and water photography.
What I love most about this project is that the possibilities are endless! You can use different backdrops to get unique colour combinations, mix different ratios of oil, dish washing liquid and water to get different types of bubbles, and try different light sources to create different effects.